| Champion Hill Home |
| Civil War Album Home |
| Return to Yazoo Pass - Siege of Vicksburg |
 |
||||||
|
|
||||||
|
Area Map | |||||
 |
 |
|
|
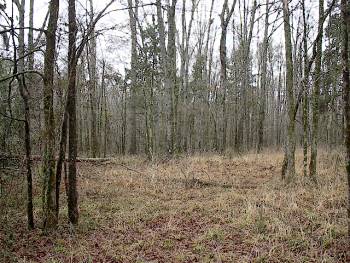
View looking west down the length of Hovey's lines before the assault. This picture was taken just to the right of the roadcut in the previous photograph Locate on Map |
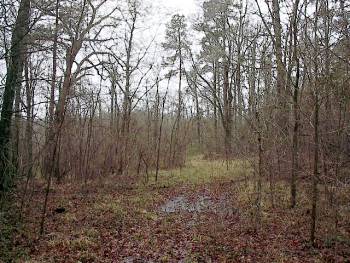
This picture was taken just to the
left of the roadcut looking south toward Champion Hill. In the far distance
it is possible to make out the increased elevation around Champion Hill
where the Confederates were deployed |
|
 |
 |
|
|
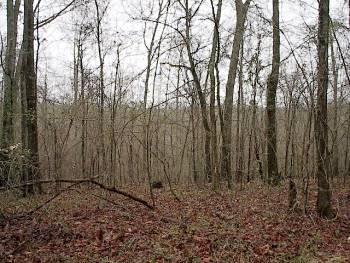
View to the left
of the road cut in the previous photograph. This
photograph was taken from the same position as the previous one but looking
to the east down Hovey's lines. Notice how the terrain drops off sharply
into a ravine in the middle of the picture. Because of this, Hovey had to
make this point his extreme left before the assault |
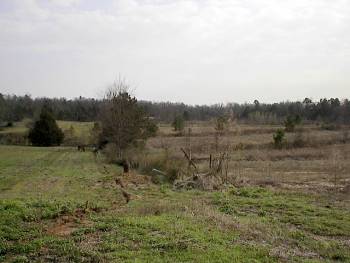
Once Hovey had deployed along the
Jackson Road south of the Champion House, the Federals saw the need to
extend their lines to the west in order to turn the Confederates' left
flank. By doing so, they could gain control of the upper Bakers Creek bridge
and prevent Pemberton from escaping. The Union 3rd Division under command of
John A. Logan was called up to accomplish this. He deployed his division to
the immediate right of Hovey, extending the Union lines into the fields to
the west of the Champion House and fronting Lee's brigade posted on the
ridge. The photo above shows the fields in which Logan troops were massed
and the treeline in the background represents the position of the
Confederates along the ridgeline. Champion Hill would be near the middle of
the photograph. The view is looking south
Locate on Map
|
| Deployment Page1 Page2 Page3 Page4 Page5 Page6 Next |
 |