| Champion Hill Home |
| Civil War Album Home |
| Return to Yazoo Pass - Siege of Vicksburg |
 |
 |
|
|
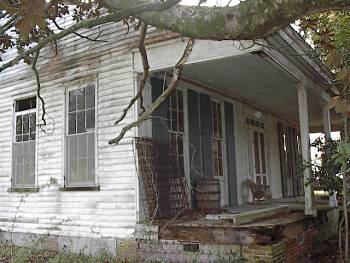
View of the
front porch of Hiawatha (Yeiser House) where Tilghman was taken
following his injury. His body was placed in the front room
closest to the camera |
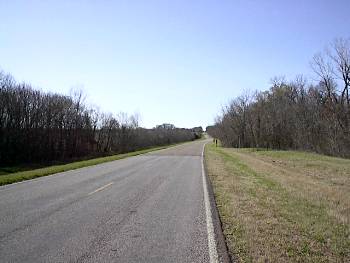
View looking west toward Edwards from a location just west of the lower Bakers Creek bridge. The city limits of Edwards would be near the horizon in the background. This picture shows the general route of the Confederate retreat from the battlefield Locate on Map |
|
 |
 |
|
|
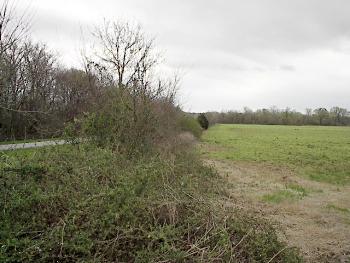
Once Bowen's
men arrived at the lower bridge, they were ordered to hold it until
the last Confederate units were across safely. While he waited on
Loring's division to come into view, he
heard cannonading from his rear. Thinking that the sound came from
Federal guns in Edwards, Bowen feared that they had gotten there ahead
of him and blocked his escape route. He then abandoned the bridge and
took a detour south of Edward that would take him to the Confederate
defenses in front of the Big Black River. The photo above shows the
area that Bowen took to avoid Edwards. The view is looking to the east |
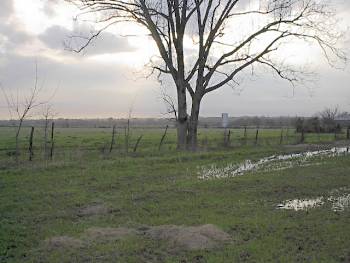
This photograph, taken just behind Hiawatha (Yeiser House), shows Loring's
escape route from the battlefield. Loring had decided that the Federal
forces were nearing his rear and were between him and the rest of the
Confederate army retreating to the Big Black. He therefore decided to
take a plantation road but was unable to rendezvous with the rest of
Pemberton's men
Locate on Map
|
