Battle of Pea Ridge, Arkansas Page9
Site Index     Home     Pea Ridge Page1     Page2     Page3     Page4    Page5    Page6    Page7    Page8    Page9    Page10    Next

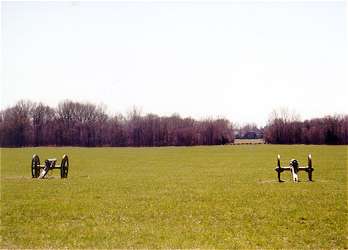
(March 1999) Tour Stop 9 (Confederate Sunset)
 
East of Wire Road, Visitor Center in background
 
Battery west of Wire Road (July 26, 2002)
Tour Stop 9 Panorama from across Wire Road (July 26, 2002)
 
Tour Guide:
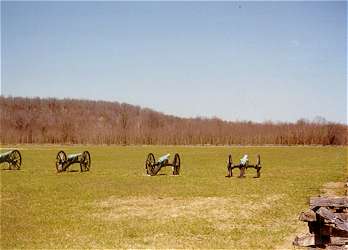
The guns here mark Confederate battle line on the morning of March 8. From this position, Confederate batteries returned the fire from the Union line one-quarter mile to the south

   (July 2011) Enlarge  Tour Stop 10 (Federal Line)
 
Pratt's Field

 
William J. Bechmann III photo
     
(July 2011) Enlarge  Detail Tour Stop 10 (Federal Line)
 
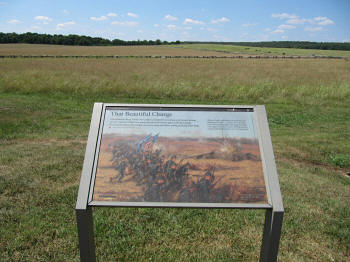
Interpretive Marker: That Beautiful Charge

 
William J. Bechmann III photo
 

(July 2011) Enlarge  Detail Tour Stop 10 (Federal Line)
 
Interpretive Marker:
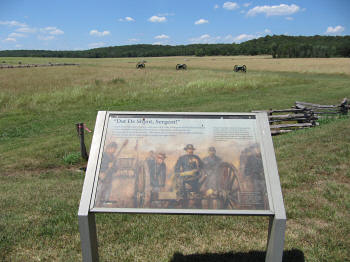
"Dat De Shpot, Sergent!"
 
William J. Bechmann III photo


(March 1999) Tour Stop 10 (Federal Line)
 
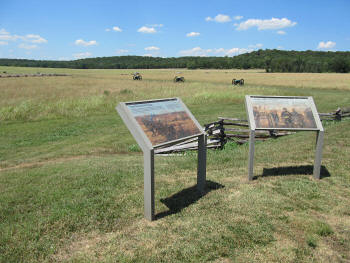
Panorama from Tour Stop 10 (July 26, 2002)
 
Tour Guide: Union artillery deployed here on the morning of March 8. Their fire forced the Confederates to withdraw from the tavern area. The Federal line extended from present-day U.S. 62 to the south to beyond the bare open hill to the northwest


(July 2011) Enlarge  Detail Tour Stop 11 (Little Sugar Creek Trenches)
 
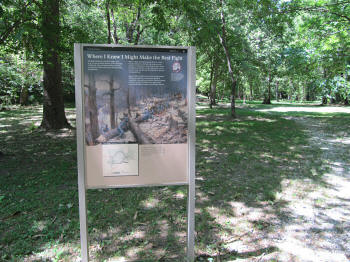
Interpretive Marker: Where I Knew I Might Make the Best Fight
 
Tour Guide: On the bluff above Little Sugar Creek, 0.6 mile from U.S. 62, the time-eroded Federal trenches still stand

 
William J. Bechmann III photo

     
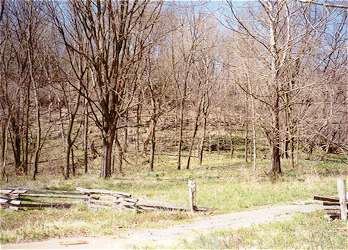
(March 1999) Tour Stop 11 (Little Sugar Creek Trenches)

Looking at the bluff from the parking area
 

(October 2009) Enlarge  Tour Stop 11 (Little Sugar Creek Trenches)
 
Interpretive Marker: Getting Ready to Fight
 
Walter Kasperczyk photo

Site Index

Pea Ridge Page1     Page2     Page3     Page4    Page5    Page6    Page7    Page8    Page9    Page10    Next