Battle of Pea Ridge, Arkansas Page8
Site Index     Home     Pea Ridge Page1     Page2     Page3     Page4    Page5    Page6    Page7    Page8    Page9    Page10    Next
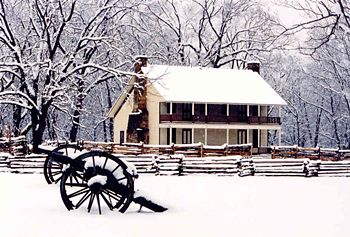
(October 2009Enlarge Tour Stop 8 (Elkhorn Tavern)
 
Walter Kasperczyk photo
   (UnkEnlarge Tour Stop 8 (Elkhorn Tavern)
 
Curt Fisher photo
     
(2009Enlarge Tour Stop 8 (Elkhorn Tavern)
 
Curt Fisher photo
  (UnkEnlarge Tour Stop 8 (Elkhorn Tavern)
 
Curt Fisher photo
     

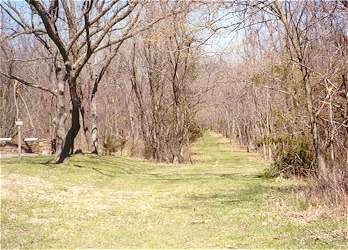
(March 1999Tour Stop 8 (Elkhorn Tavern)
 
Old Telegraph Road east of the tavern, view looking north
 
Tour Guide:
The Confederates made their first assault on Union forces from the Telegraph Road north of the tavern and gradually pushed them back about one-half mile behind you. On the second day, after a fierce artillery duel, the Confederates ran out of ammunition, forcing General Van Dorn to withdraw. The Federals pursued several hundred stragglers down the Telegraph Road, believing them to be the main force, thus allowing the bulk of Van Dorn's column to escape eastward over the Huntsville Road. Wayside exhibits and a recorded message here help to explain the fighting in this area

  (UnkEnlarge Tour Stop 8 (Elkhorn Tavern)
 
Another view of Old Telegraph Road from near camera position in previous photo
 
Curt Fisher photo
     
(July 2011) Enlarge  Detail Tour Stop 9 (Confederate Sunset)
 
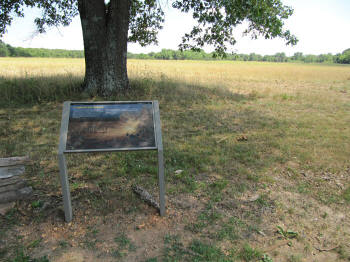
Ruddick's Farm
 
Interpretive Marker: Confederate Sunset

 
William J. Bechmann III photo
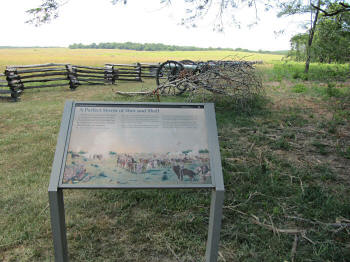
  (July 2011) Enlarge  Detail Tour Stop 9 (Confederate Sunset)
 
Interpretive Marker: A Perfect Storm of Shot and Shell

 
William J. Bechmann III photo

Site Index

Pea Ridge Page1     Page2     Page3     Page4    Page5    Page6    Page7    Page8    Page9    Page10    Next