|
(June 2013)
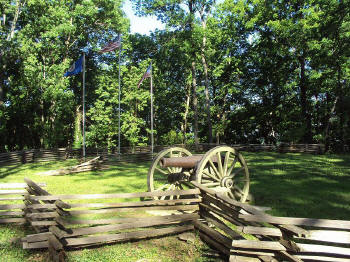
Enlarge Small park and replica
cannon guard the crest of Shy's Hill; in addition to the U.S. and
Tennessee flags, that of Minnesota also flies here, in tribute to the
losses suffered by the soldiers from that state storming the position
James Neel photo |
|
(June 2013)
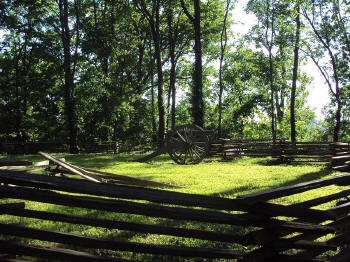
Enlarge Hood's line on the
morning of Dec. 16, 1864, was now only about half as long as on the
previous day, and ran on an east-west axis with Overton's Hill anchoring
the right flank and what became known as Shy's Hill anchoring the left.
Connecting the twin knobs in part is current Stonewall Lane, which runs
through a residential neighborhood parallel with an actual stone wall
reputed to be the same one used by the Confederate defenders.
Unfortunately for them, their shortened line was all that much easier to
flank in a late-afternoon duplicate of the previous day's action.
Scofield's men completely surrounded the hill, overrunning it and causing
the entire Confederate army to collapse and retreat, the only such
instance in the war of such a Confederate rout.
James Neel photo |
