The Atlanta Campaign, a Virtual Tour


Atlanta Campaign Home
Civil War Album Home


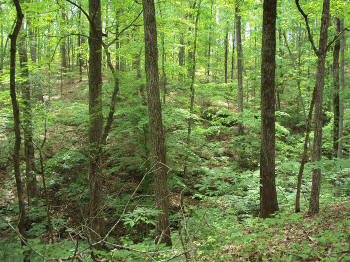
(6-2013) Enlarge Following Hazen's repulse, other Federal brigades went piecemeal into the fatal ravine, where they too met the same fate at the hands of Granbury's men; the slaughter finally concluded with nightfall, leaving many men wounded or otherwise trapped beneath the guns of the brigade and an adjoining battery. Among Granbury's Texans was Capt. Samuel T. Foster, who later wrote, About 9 O'clock in the night the order from Gen. Granbury is to "Charge in the woods at the sound of the bugle"
 
In about an hour from the time we rec'd Gen. Granbury's order to charge, the bugle sounded the charge, and we raised a regular Texas Yell, or an Indian Yell or perhaps both together, and started forward through the brush... They broke, but not before we were among them with our skirmishers
 
As soon as they broke to run we commenced to take prisoners. We were going down hill, still Yelling like all the devils from the lower regions had been turned loose, and occasionally a tree lying on the ground would have from 5 to 20 Yanks lying down behind the log... All they could say was "don't shoot" "don't shoot" - finally we got down to the bottom of the hill to a little branch and under the banks there was lots of them - But just here at this little branch we lost the trail of the enemy, and our men were badly mixed up
 
Courtesy of James Neel


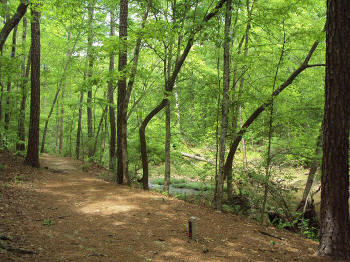
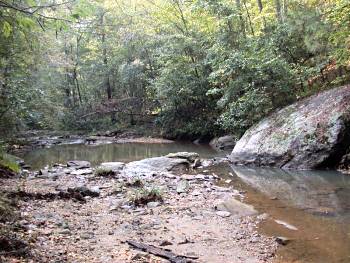
(6-2013) Enlarge The Fatal Ravine

Foster and his company remained there as pickets until the following morning when they rejoined the rest of the brigade at their original position at the head of the ravine. He continues, About sun up this morning we were relieved and ordered back to the Brigade - and we have to pass over the dead Yanks of the battle field of yesterday; and here I beheld that which I cannot describe; and which I hope never to see again, dead men meet the eye in every direction, and in one place I stopped and counted 50 dead men in a circle of 30 ft. of me... it seems like they have nearly all been shot in the head, and a great number of them have their skulls bursted open and their brains running out, quite a number that way. I have seen many dead men, and seen them wounded and crippled in various ways, have seen their limbs cut off, but I never saw anything before that made me sick, like looking at the brains of those men did. I do believe that if a soldier could be made to faint, that I would have fainted if I had not passed on and got out of that place as soon as I did - We learn thru Col. Wilkes that we killed 703 dead on the ground, and captured near 350 prisoners

According to the park folder for Pickett's Mill, When dawn came, the Confederates still held their line while the Federals had lost 1,600 men. The Southerners' loss was 700
 
Courtesy of James Neel


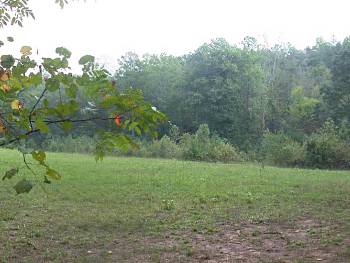
(10-02) Federal General Wm. B. Hazen's brigade entered this field (then a cornfield) from the near side and was counterattacked by Confederate Colonel G. F Baucum as well as Gen. Mark P. Lowrey's brigade who entered the field to your right (far side) and were driven to the left (north). This was the high tide of the battle for the Federals
 
Panorama of field above


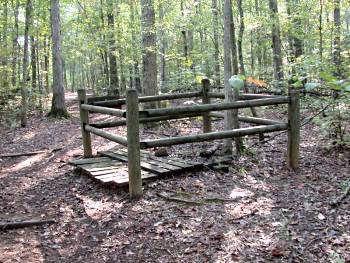
(10-02) Rifle pits (right-foreground to middle-background) that protected Brig. Gen. John H. Kelly's Confederate dismounted cavalry. They held off an attack by Federal Gen. B. F. Scribner and prevented him from reinforcing Hazen in the cornfield


(10-02) Stone well at site of miller's home just above (south of) the mill. The house was probably destroyed during the fighting in this area


(10-02) Site of Pickett's Mill facing west. Intense fighting occurred here between Scribner's Federal troops and Kelly's cavalry
 
Panorama (Pickett's Mill site)

  
New Hope Church & Pickett's Mill Page1     Page2     Page3     Page4     Page5     Next

Top of Page

Ringgold Gap, Rocky Face Ridge and Dalton Resaca Cassville New Hope Church and Pickett's Mill Kennesaw Mountain Atlanta Jonesboro Jonesboro Resources Panoramas Atlanta Campaign Home Page www.CivilWarAlbum.com Home Page Atlanta Campaign Image Map